You can spend a lot of money on gardening or wing it on a shoestring. Over time, I’ve seen that one method doesn’t necessarily make a nicer garden. Having a garden worth spending time in depends on the creativity, resourcefulness, and skills of the individual gardener.
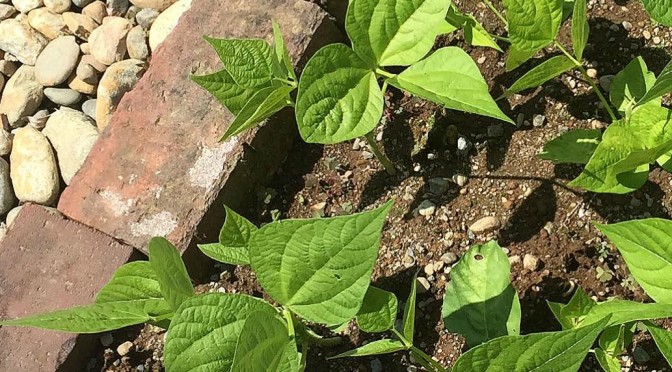
I took the picture in the image, above, and in the sharing image, below, in my own garden. The old bricks came from a discarded pathway. I remember worrying about my passenger car’s tires rubbing on the tire wells when I drove home with my trunk full. I should probably have moved them in more trips. I brought home enough bricks to build four 4-foot by 4-foot planters, a 4′ circle in the middle, and another 4 wedge-shaped planters around the central circle.
The rocks came from the soil, which is rocky enough to make me need a raised bed planter. I’m slowly adding rocks to the paths as I throw them out of the beds. This year, I’ll add sand between the rocks, though, since weeding them is not my favorite thing to do.
You might be able to tell that the planter is only about three courses high, with one course slightly embedded in the dirt. That’s all I really needed to raise the soil enough to grow vegetables. I didn’t use gravel or sand beneath the bricks, but simply leveled them as much as possible in the dirt. I didn’t mortar the bricks so that I can easily rearrange the beds. This also keeps the cost down, and drainage is better without mortar.
Easy Raised Bed Planter from Old Brick
So how do you build a similar planter?
- Plan your garden by sketching it out on paper. This is where you want to try out your ideas and decide what you want. It’s much easier to erase and redraw a pencil mark than to lug a bunch of bricks around.
- Gather your supplies. You will need enough brick, a plastic squeeze container of chalk line chalk (from the hardware store) or stakes and string to lay out your beds, garden tools for clearing and digging, and some top soil and compost to fill the beds. Also, a wheelbarrow and buckets for gathering rocks come in handy.
- Clear your garden space of vegetation and rake out, removing rocks and saving them for use in the paths.
- Using either chalk or stakes and string to mark your beds. Be sure to walk through the paths you’ve laid out to make sure they are comfortable and that your wheelbarrow can get through them. Bend down and test the width of your beds. Can you reach the center of each one without straining? Make any needed adjustments.
- Working with one raised bed planter at a time, set the first course. I didn’t bother using a level, and my planters turned out fine, but then I have a fairly good eye and was going for a more casual look anyway. If you are concerned about making your planters level and want a more formal look, you should probably use a layer of sand beneath them and a level. Also, you might want to use new brick, which will be more uniform.
- Lay your second course. For stability, make sure the seams between the bricks don’t line up with the ones in the course below.
- Lay your third course.
- Mix top soil and compost with native soil and fill the bed to just below the planter top (see picture).
- Put down a layer of sand, and then place the rocks you pulled from the native soil. Alternatively, you could use crushed rock in the paths.
- Enjoy your garden!
Do you plan to try this? I’d love to know your take on my idea.


